
Ordering Seeds, a simple guide
Avoid making common mistakes when ordering seeds by following our simple, 2-step guide!
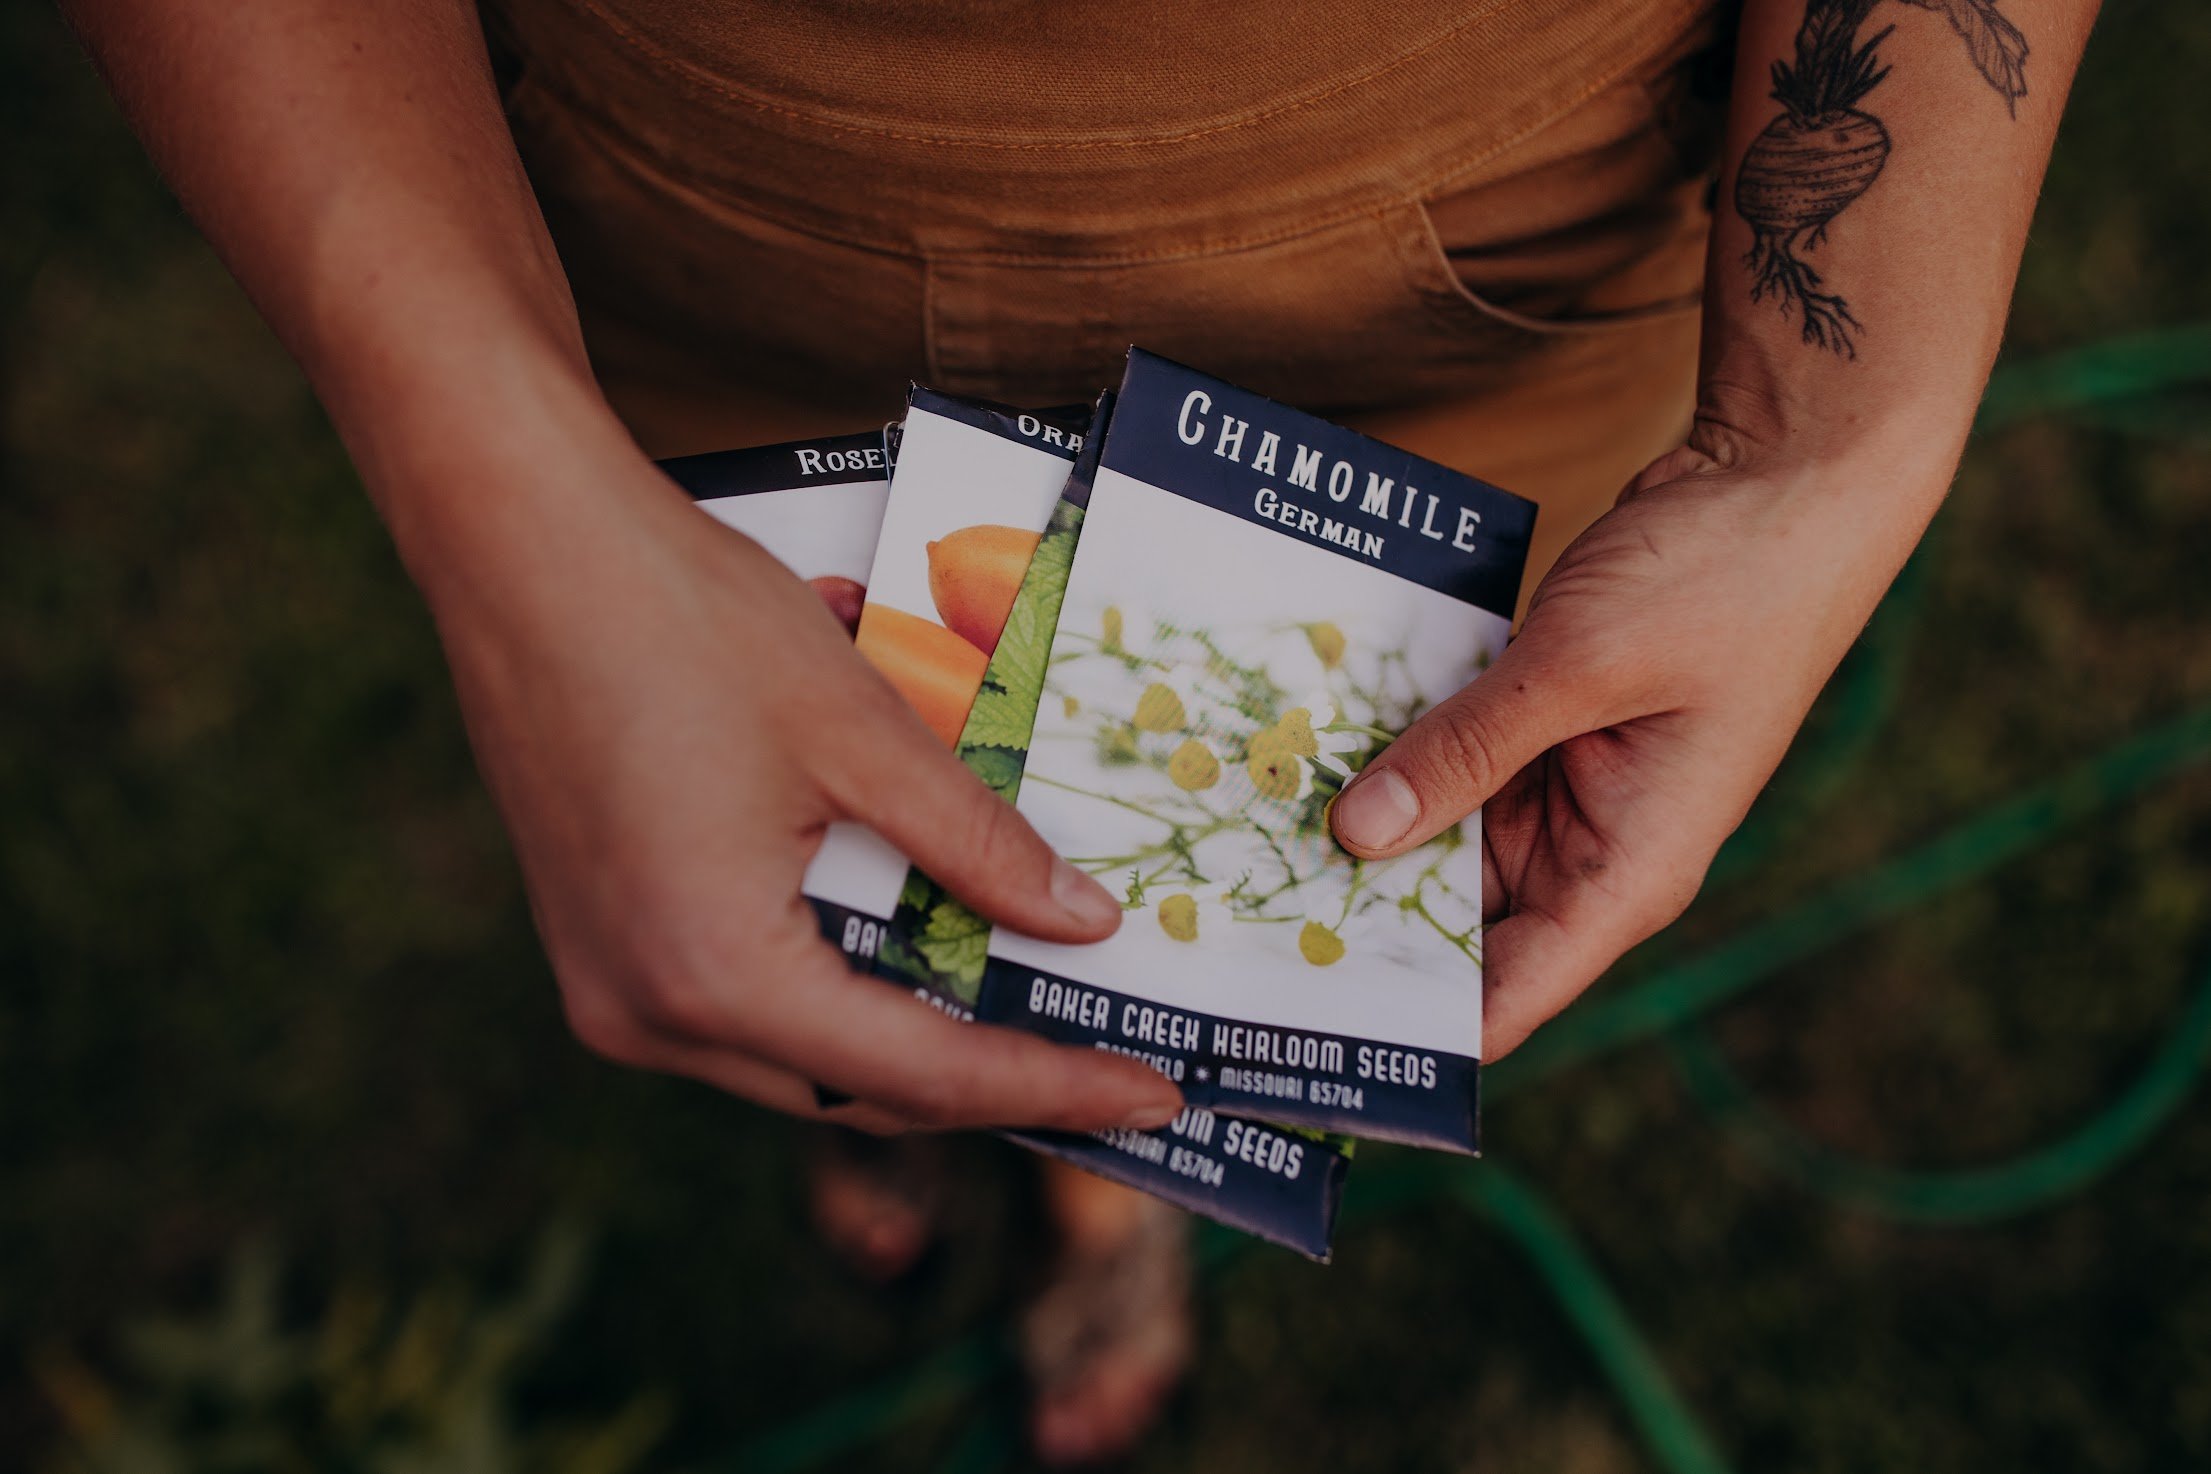
If you struggle with knowing what seeds to order and planning your garden for the upcoming season, you’re not alone.
Many of us can spend hours drooling over all the gorgeous seed catalogues, but have a hard time knowing what we should really order, or what we’ll use, in our gardens.
Our advice- divide your seed ordering into 2 separate steps:
dreaming and organizing.

Dreaming
Want to order seeds like a pro, stay in your budget, and know exactly what you'll be planting in the Spring and Summer?
First, dream big, baby! Make yourself a steamy cup of coffee or tea and flip through your favorite seed catalogues. You can circle, write a list, whatever you need to do to mark your interest in that seed (try not to circle the whole catalogue- we know, it's hard).
Much like brainstorming, don't get caught up in the details or what's realistic- just grab your marker and go to town.
Organizing

Once you have your big dreams down, make a simple spreadsheet of all of those seeds that includes some basic information like:
🌱 the name of the seed/plant
🌱 what company you would order it from
🌱 how much it costs per seed packet
🌱 how many seed packets you want to order
Once you have all the information in a spreadsheet, take a good, hard look at what you want to order, and thin out your selection as needed. Here are some factors to consider:
Budget- Seeds, compared to seedlings or starts, are relatively inexpensive, but any experienced gardener know the cost of seeds can add up quickly! Consider setting budget for your season.
Space- how much room you have in your garden? Do you really want to plant 3 types of beans if you only have two raised beds to use? If you only have a raised bed garden, do you want to plant all the flowers you added to your list, or just pick a few so you leave room for vegetables, too?
Plant preferences- Be honest with yourself about what you’ll use and won’t use during the season. Sure, the descriptions are mouth-watering and the photos are gorgeous, but if you don't usually eat leafy greens, maybe only start with one or two types to make sure you like them and know how to use them.
Not all seeds are planted equally- some plants, like tomatoes, prefer to be started indoors, which is a process that requires special equipment like grow lights and heat mats. Others, like carrots and radishes, prefer to be direct seeded, or planted as seeds directly in the soil in spring. If you’re ordering plants like tomatoes that prefer to be started indoors, make sure you have a way to do so.
Special instructions or considerations: Many seed packet descriptions will come with information about the variety. For example, “slow-bolting” cilantro, or “pest-resistant” squash. Feel free to take these into consideration, but remember that it’s better to focus on creating a healthy environment for your plants than selecting super-specific varieties that may fail no matter what if they’re planted in poor soil, don’t have enough sunlight, or are watered infrequently. Prevention is better than cure!
A Bonus Tip: waste not, want not.
Oftentimes, seed packets contain way more seeds than us as one backyard-gardener can handle, and they lose their germination rate, or their ability to sprout consistently, as the years go on. Consider sharing the seeds, and cost, with a gardener friend or two so you don’t waste any!
Plus, some of our favorite Seed Companies:

🌱 Seed Savers Exchange
🌱 Baker’s Creek Seeds
🌱 Johnny’s Select Seeds
🌱 Seed Keeping
🌱 Prairie Moon Nursery
Want help planning your garden?
Reach out to get started!

Planting Garlic
Garlic is typically the last thing we’ll plant in the garden, between Mid October- November. Planting a crop of garlic is simple, but there are a few things you’ll want to know before grabbing your garden trowel.
Garlic is typically the last thing we’ll plant in the garden, between Mid October- November. Planting a crop of garlic is simple, but there are a few things you’ll want to know before grabbing your garden trowel.

Photo by Rachel Joy Barhel Photography
When to Plant Garlic
In Ohio, we typically plant garlic sometime between Halloween and Thanksgiving (feel free to plant a bit after Thanksgiving, too, we won’t tell anyone). Garlic is a crop that enjoys a process called stratification, which is a long period of cold, in order to produce well. That’s why we plant garlic in the fall, allow it to overwinter, and then harvest in the summer.
Types of Garlic and Where to Source
We recommend sourcing garlic for planting, also called Seed Garlic from an organic, local source (we got ours from Beechwold Farm Market in Clintonville!). We don’t recommend getting your seed garlic from the grocery store, as it has often been treated and may not produce the results you want.
There are two types of garlic: Hardneck garlic and softneck garlic. The seed garlic you purchase at your local nursery or garden center should have labels for the bulbs and additional descriptions for flavor, variety, etc.
Harneck garlic is hardier against extreme winters, has a stronger flavor, and produces garlic scapes.
Softneck garlic is better suited to places with mild winters, has a more mild flavor, and doesn’t produce garlic scapes. Softneck garlic can also be braided into those lovely braided garlic bunches you see at farmer’s markets.
We typically plant hardneck garlic because we love garlic scapes! Garlic scapes are the curly little stems that emerge from the garlic plant in the spring, and a best-kept farmer secret. These stems must be pruned back but- good news!- they’re edible and super delicious. We love to use them as a replacement for regular garlic or chives in recipes.

If you’re planting a large amount of garlic, we recommend laying out the cloves before planting.
How to Plant Garlic
Planting garlic is very easy and only requires 2 steps if you already have a sunny, well-draining raised bed or garden patch prepped:
Gently break apart your garlic bulbs into individual cloves. Avoid peeling the papery layers off of the bulb, as these help protect the clove from insects and critters during the winter.
Plant each clove in your garden bed or raised bed around 6 inches apart. Plant these little cloves deeply (at least 3 inches deep!) with the pointy end of the clove facing up towards the sky.
Seriously, it’s that simple!
Garlic Maintenance
Garlic do need that stratification period to produce, but they still benefit from a little protection from the harshest temperatures.
We recommend mulching your garlic patch with a thick layer of straw or mulch after planting to give them a little extra protection. No need to cover your garlic crop with row cover!
Be sure to water your garlic patch just as you would any of your other crops. Full sun and consistent watering practices will help your garlic grow into big, beautiful (and delicious) bulbs.

Harvesting Garlic
Garlic should be ready to harvest in the summer- a good rule of thumb is to wait until the leaves of the plant have started to turn yellow, but before the plant is totally dried up.
Gently dig the bulbs up (take care that you don’t nick them with your garden trowel or garden fork!) and place them somewhere to cure, or sit in a cool, dark, ventilated spot for a few weeks. This curing process, which also happens with sweet potatoes, potatoes, and other crops, helps improve flavor and prepares the bulb for storage better.

Growing After Frost: A Quick & Dirty Guide to Using Row Cover
Our quick-and-dirty guide on how to use row cover to grow after the frost, plus special tips, tricks, and resources for Central Ohioans!
It’s late October and we’re starting to get that autumn chill in the air!
Fall is hands-down my favorite time to garden: vegetables will get sweeter with cooler weather, it’s so enjoyable to work in the garden, and some of my favorite crops (like mustard greens and turnips) are at their peak in the autumn (psst- want to know what you should be planting in fall? Check out our month-by-month planting calendar).
Gardening in fall and into the winter is a blast, but you need a secret weapon to make it happen: Season Extension.
What is Season Extension?
Freezing Temperatures (around 30 F) can start to impact our plants’ abilities to survive, and many plants will stop growing and die when it starts to gets really cold. Season Extension is a way to literally “extend the season” and continue to enjoy the bounty of your garden well after frost has come.
Yep, that’s right. You can harvest Kale on Christmas. Turnips on New Year’s Day. Radishes on Thanksgiving…. you get the idea.
Season extension works by creating a mini micro-climate in your garden. The most common example of creating an intentional micro-climate is a greenhouse! The glass and plastic on greenhouses trap heat inside the space, making it warmer than the outside.
The good news? You don’t need a whole greenhouse to keep growing food into the winter! All you need is some row cover, wire hoops, and a little know-how.
How to Use Row Cover to Grow After Frost

Underneath a blanket of row cover!
There are different types of season extension methods you can use, like cold frames, hot beds, greenhouses, or high tunnels, but using row cover is by far the easiest and cheapest method.
Row cover is a large, fabricated blanket designed specifically to keep plants warm while still letting in as much sunlight as possible.
Row Cover Weights
There are different “weights” of Row Cover. The heavier the “weight,” the more protected your plants will be against frost, but the less sunlight will come through for your plants! We recommend getting 1-2 sheets of row cover for your plants in the mid-weight range (around 30-60%), plus a layer of plastic
Using Hoops with Row Cover
Gardeners use hoops to hold up row cover, so that the plants are in a little “tunnel” under the cover, rather than the cover touching the plants. There are lots of options for hoops- wire, pvc, or wooden frames are some of the most popular. We like to use wire hoops because they are the easiest to find and still very easy to use!
Row Cover Sizes
There are also different sizes of row cover. When you’re looking for row cover, be sure to select a size that will cover your entire area and account for the extra width created by the hoops. A good rule of thumb is to keep 2ft on all sides. For example, if you have a raised bed that is 10 ft long x 4 ft wide, you want to use a piece of row cover that is 14 ft long x 8 ft wide.
Using Plastic with Row Cover
You can use large sheets of plastic, laid over your row cover and hoops, in very low temperatures. Plastic will trap more of the heat inside and keep your plants better protected from extreme temperatures.

Use this basic guide to help you determine when to add row cover layers and plastic to your garden
When to Put Row Cover on Your Vegetable Garden
We recommend adding a mid-weight row cover to your garden before first frost, and taking it off when temperatures are above frost.
A super-simple guide on how to “install” row cover:
Add the wire hoops first by wedging the pointy ends into the soil, deep enough that they are standing up by themselves in the raised bed. Add a hoop every 3 feet or so, so that you are creating a little “mini-tunnel” over your vegetables
Gently drape your row cover over the hoops and raised bed, making sure every plant is covered and protected by the cover.
You can “tuck in” any extra row cover into the beds and use fist-sized rocks or bricks to weight it down, so it doesn’t blow away in the wind.
Row cover is permeable, meaning it will let in rain. However, you still want to be checking in on your garden to make sure your plants are still getting enough water through the cooler months!
Places to find Row Cover & Hoops in Columbus, Ohio:
Beechwold Farm Market, run by Swainway Urban Farms (our personal favorite- the folks who run the shop will be able to answer any questions you have about what kind/size of row cover will best suite your needs!)
City Folks Farm Shop
Straders
Oakland Nursery
Other tips & tricks to growing in the fall & winter:
Use mulch and/or straw around plants to give them another layer of insulation around their roots
Plants don’t need as much water in the fall and winter as they did in the summer, but we DO recommend watering deeply before a hard freeze. This helps protect the plants!
Consider keeping a small thermometer in your raised bed(s) so you can keep an eye on how hot or cold your mini micro-climate is!

Preparing Your Raised Beds for a New Season: Step-by-step
Our 3-step process to prepare your raised beds for a new season.
Summer is coming to a close, you have your fall seed-to-harvest plans ready to rock and roll….. now what?
If you’re looking at your raised beds feeling overwhelmed with where to start, you’re not alone. We typically remove summer crops and put in fall crops in September.
Here’s our step-by-step guide for preparing your raised beds for a new season:

1. Remove all dead & diseased crops, or stuff that won’t survive the upcoming season
A new season is a chance to give your garden a fresh start. Start off by removing all dead & diseased plants and weeds. Next, take a look at the crops: will they survive the upcoming cool-season? Most summer crops, like tomatoes, eggplant, and peppers, won’t. When you’re ready to plant for the fall, it can be hard to take these plants out, especially if they look healthy. But just think of all the delicious fall crops you’ll get to harvest!
2. Amend Your Soil
Add 1-3 inches of compost over the entire garden (you can use this compost calculator to see how many bags you’ll need), use a pitchfork or garden trowel to mix it into the first 3 inches of topsoil or so. Adding compost will add much-needed nutrients to your soil and give your plants a boost in the coming season.
3. Plant!
Grab those seedlings, seeds, and your planting plans and get to work! It’s always a good idea to transplant your seedlings on an overcast day with mild-temperatures and to give your soil a soak before planting to reduce the risk of transplant-shock.
Ready to plant your garden for the fall? We’re here to help! Get started with one of our garden maintenance packages.

Our Top Picks for Fall Crops
A few of our “top picks” for fall crops.
It’s 90 degrees as I’m writing this in Columbus, but us gardeners know that fall really is just around the corner. To my Ohio gardeners: now's the time to start putting together plans for your fall garden!
Here’s some of our top picks for fall crops:

An easy garden-inspired fall dish: sautéed turnips, dark leafy mustard greens, and broccolini in olive oil, topped simply with salt and pepper.
1. Arugula & Buttercrunch Greens
Salad greens like arugula and tender buttercrunch lettuce will flourish in the coming cool season. We love growing salad greens because they are so much more delicious straight out of the garden than from the grocery store- you maybe surprised how much of a spicy punch some arugula varieties pack when you try it right out of your garden!
2. Broccolini (AKA Broccoli Rabe)
Broccolini, also known as Broccoli Rabe, is actually genetically closer to a turnip than broccoli, but it is, in our humble opinion, equally as delicious (okay, we actually like it better than broccoli). Broccoli Rabe grows faster than Broccoli, has a bit of a bitter tang that mellows out when sautéed or roasted, and is fabulous as a side dish or finely chopped in salads.
3. Carrots
Harvesting carrots in your home garden is just…. well, magical. It’s so fun to pop these guys out of the ground, brush off the dirt, and eat it straight up. Carrots will sweeten with the frost, are a fabulous addition to soups, salads, or as a vehicle for dips. As a bonus, the whole plant is edible- we usually save the greens to make homemade carrot-top pesto.
4. Pansies
Pansies are more cold-tolerant than most flowers and- most importantly!- they are edible! We love adding them to salads or using them as a garnish for soups and other dishes. You can transform pretty much any average-dinner dish into an elevated display by snipping off some fresh pansy flowers and sprinkling them right on your plate.
5. Savory, Cool-Tolerant Herbs, like Rosemary
When the cold weather hits, we want soups (and we know we’re not alone). We grow tons of savory, cold-hardy herbs in the fall like rosemary, chives, and sage. Nothing quite like a sprig of rosemary on that chicken noodle soup, or tying up bunches of fresh herbs with twine to dry and using them in your winter holiday feasts.
Ready to make your fall planting plan? Check out the Columbus Foodscapes Planting Calendar. Our planting calendar features over 50 of the most common fruits, vegetables, and herbs, recommendations on plant needs, and more.

What to Plant Now: Mid-Late August
Here’s some of our favorite crops to plant for cool season in Central Ohio.
How is it August already? Are we the only ones who feel like summer flew by?
One of the most common gardening myths is that vegetable gardening stops whens summer does.
It’s just not true! Fall is the one of the best times to garden and offers some of the most delicious produce.
Here’s some of our favorite things to plant for cool season in Central Ohio:

1. Leafy Greens & Salad Greens
Leafy greens like kale, swiss chard, mustard greens, and collard greens will flourish in the coming cool season. Salad greens like arugula and lettuces are great additions to your fall garden, too!
2. Root Veggies
Is there anything more magical than pulling a carrot straight out of the ground? Root vegetables like carrots, beets, radishes, and turnips thrive in cool weather and sweeten when frost hits.
3. Cool-Season Herbs
Yep, you can grow herbs in the cool season, too! Mint, chives, thyme, rosemary, sage, and cilantro are easy herbs to grow in the fall, and make delicious homemade teas, herb rubs, and additions to soups.
4. Brassicas
Plants in the Brassica Family (aka the “mustard” family) like broccoli, cauliflower, cabbage, and bok choy will do great in the approaching cool weather.
Ready to make your fall planting plan? Check out the Columbus Foodscapes Planting Calendar. Our planting calendar features over 50 of the most common fruits, vegetables, and herbs, recommendations on plant needs, and more.

Plastic Free Gardening Tips
The Garden Industry has a dirty little secret: there can be so much plastic waste produced when gardening.
Here’s some of our favorite tips & tricks for reducing plastic waste in your garden for #PlasticFreeJuly and year-round:
Pretty much all gardeners love the environment- how couldn’t we, when we are outside in our gardens all the time?
But the Garden Industry has a dirty little secret: there can be so much plastic waste produced when gardening.
Here’s some of our favorite tips & tricks for reducing plastic waste in your garden for #PlasticFreeJuly and year-round:
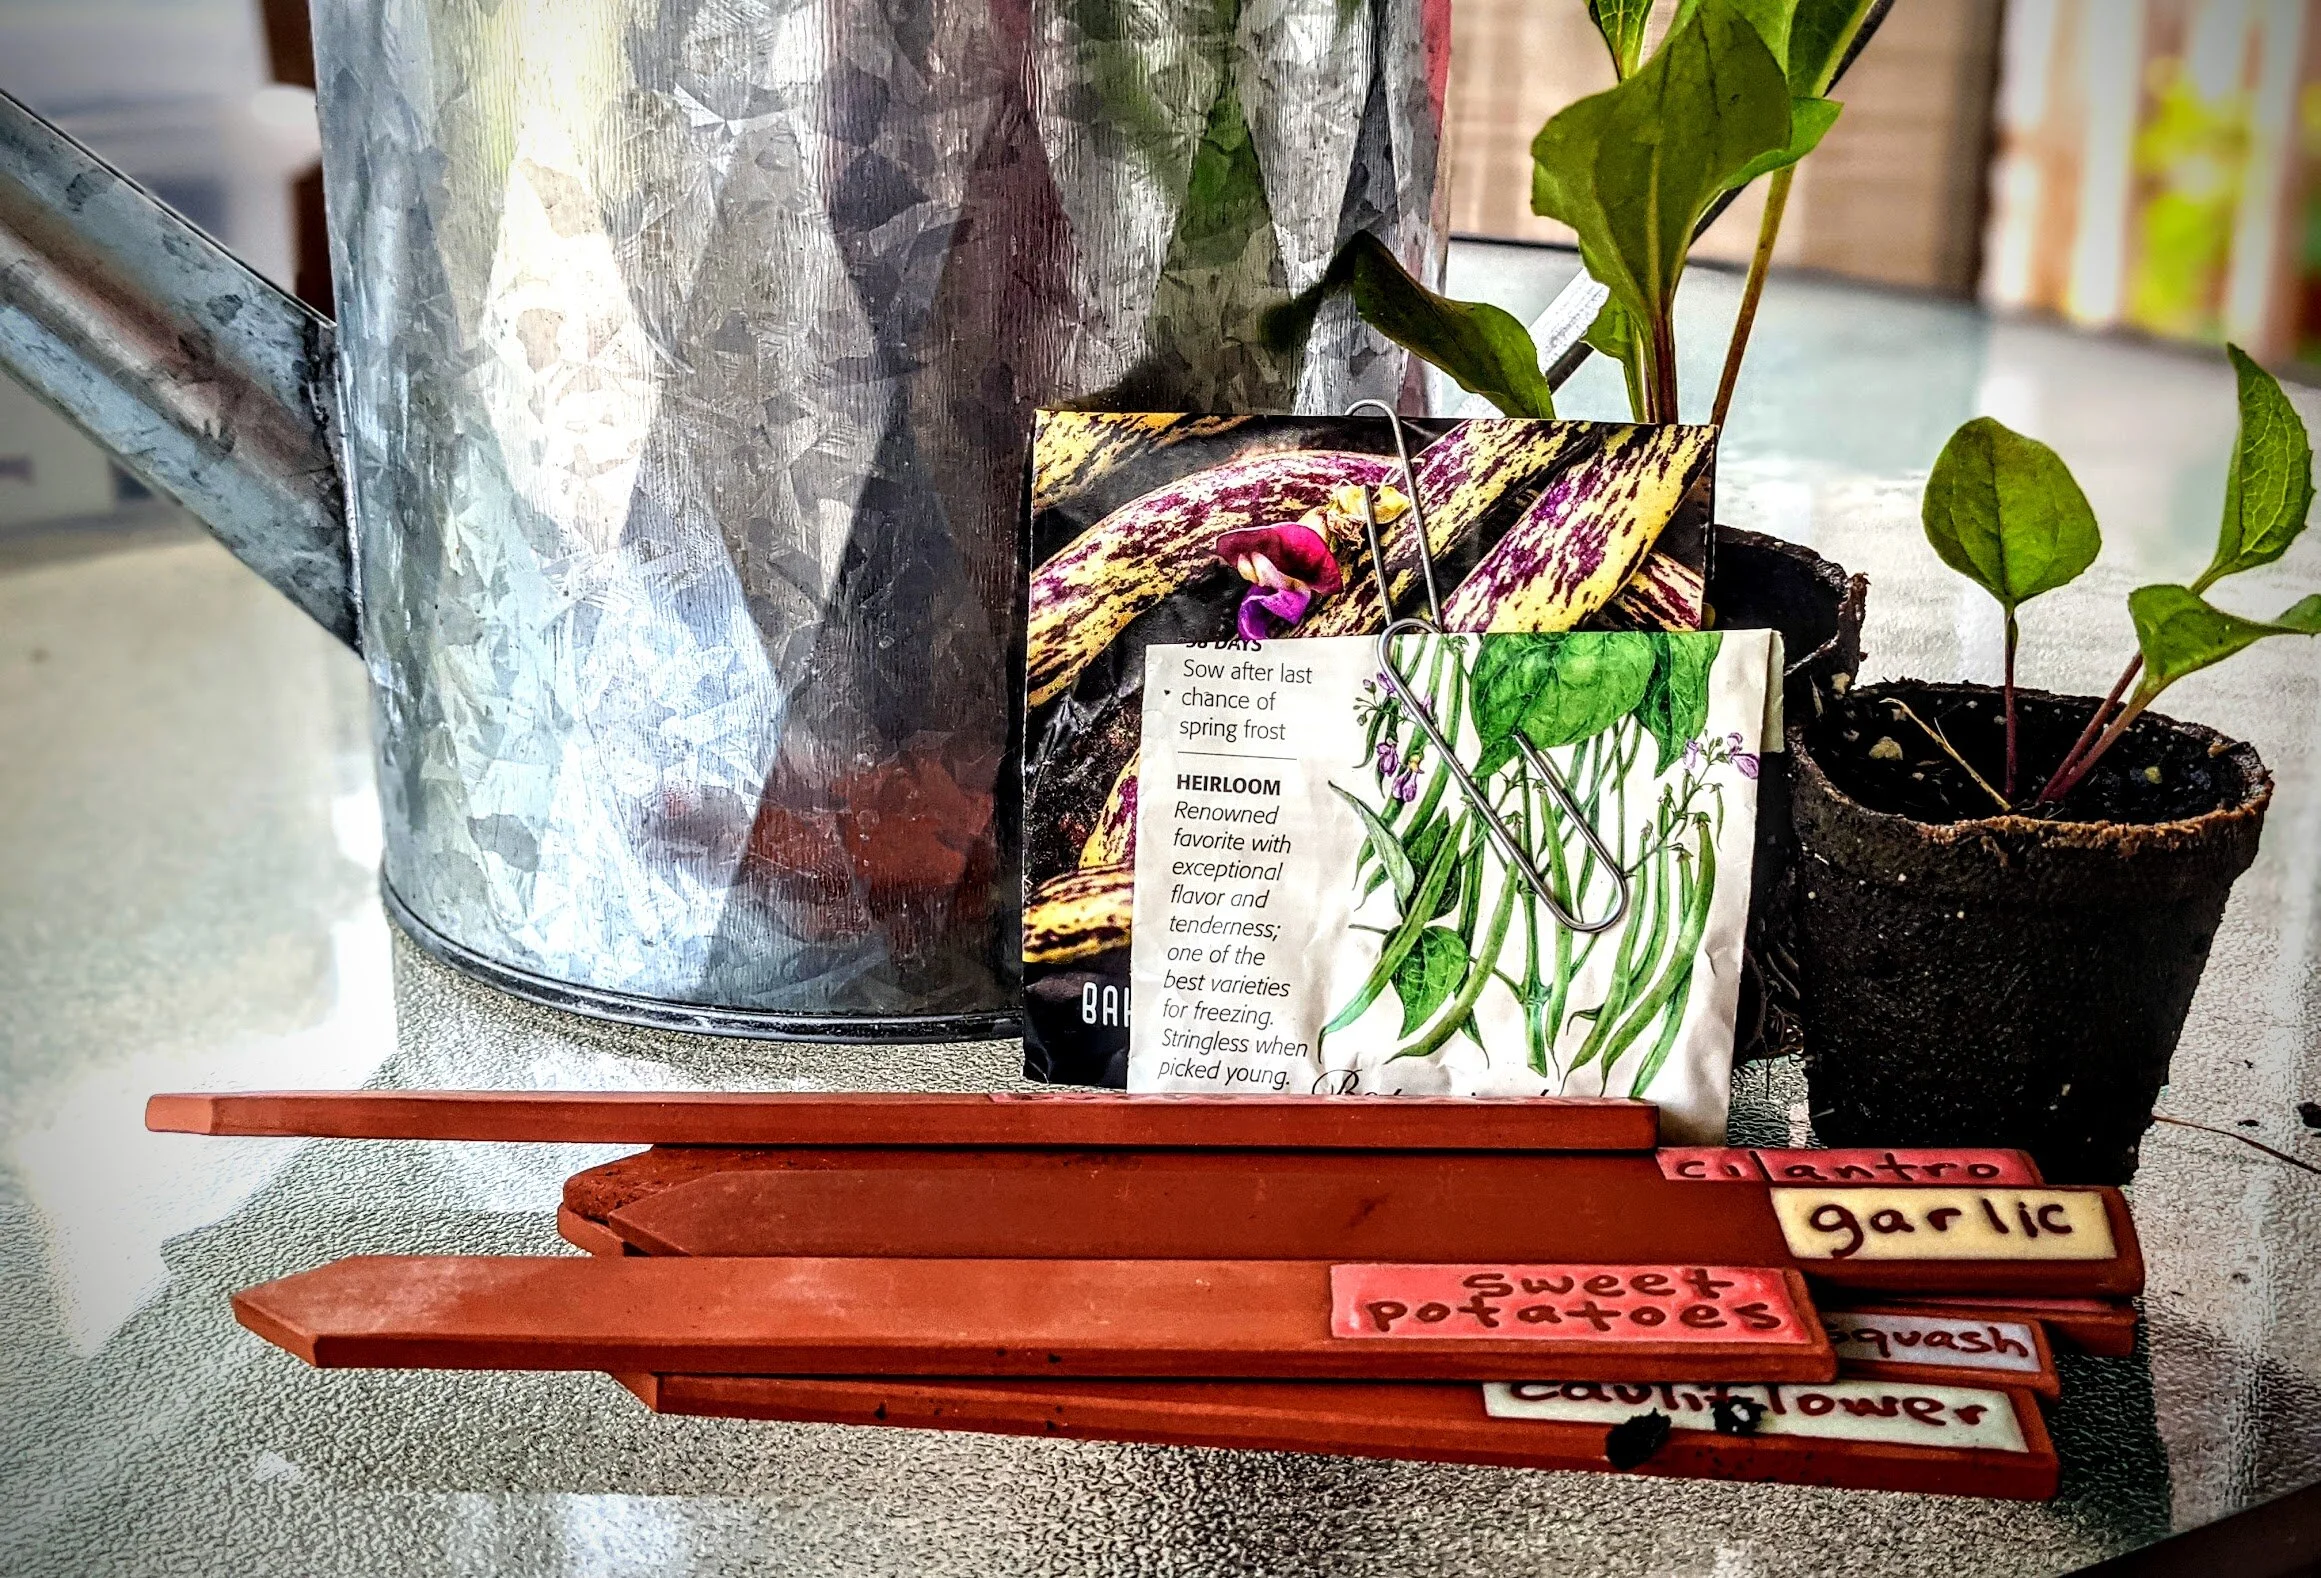
Some of our favorite swaps: metal watering can, starting seeds yourself, compostable pots, plant labels you can use year after year
1. Order Soil & Compost in Bulk
Some things, like compost, you’ll want to always have on-hand in your garden. Consider ordering it or picking it up in bulk (we use Price Farms Organics) and stashing extra away in a garage or basement. You’ll save dozens of plastic soil bags from going into the landfill and oftentimes you’ll save money, too.
2. Consider investing in higher quality, permanent supplies
Plastic sneaks into our garden in different ways: seedling starter containers, cheap trowels and hand rakes, little plastic plant labels. Even raised beds can be created with thicker plastic.
Consider investing in high-quality gardening tools and materials that will last longer and will reduce plastic usage in your garden: swap out the disposable plant labels for more permanent ceramic or metal ones. Invest in a high-quality gardening knife and pitchfork (bonus if you get it from the thrift store- our favorite place to find used gently used gardening tools in Columbus is New Uses on Sawmill). There are so many swaps you can make that are both more sustainable and will make your garden more beautiful.
3. Grow the food you typically find in plastic

Leafy greens often come in plastic bags or plastic containers if you buy them at the grocery store
Take a look at your local grocery store: are there foods that are only available packaged in plastic? The biggest culprits are usually strawberries, salad greens, herbs, or others. Add those plants to your planting plan; by eating more salad greens from your garden, you’re reducing the plastic waste that would happen if you were buying them at the grocery store, and eating a more nutritious product, too.
4. Start your own seedlings
If you buy seedling at nurseries, you know that these baby plants often come packaged in plastic, which leads to tons of trash in the landfill. Some nurseries will accept those seedling containers back to reuse. You can also experiment with starting your own seeds for your garden with just a few simple pieces of equipment like soil block makers, grow lights, and seedling mats. If you’re not ready to start your own seeds yet, consider sourcing your plants from local growers who use compostable containers or will reuse the plastic.
Are you ready to start your garden in Columbus? Book your New Garden Consultation or Existing Garden Evaluation today to get growing!

Tips for Gardening in Small Spaces
Gardening in small spaces is easy if you know the tricks- Here’s some of our favorite tips for growing in small spaces.
Growing in multiple, huge raised beds and large vegetable plots is a blast, but it’s such a special challenge to grow in a small space.
Our new homeowner clients came to us in early summer, wanting to transform an existing raised bed box from growing ornamental grass to growing groceries but not sure where to start.
We worked together side-by-side to remove the grass, add healthy, organic soil to the garden bed, install a custom-built cedar trellis, and plant a tasty variety of plants like tomatoes, swiss chard, cucumbers, marigolds, beets, radishes, peppers, and nearly a dozen herbs like rosemary, basil, mint, and lavender.


Isn’t it amazing what a couple months of growing, healthy soil, and a little help from a garden coach can do?
Their cucumbers are flourishing on the trellis, the marigolds are in full bloom, and our clients started enjoying their harvests almost immediately.
Gardening in small spaces is easy if you know the tricks- Here’s some of our favorite tips for growing in small spaces:
1. Prioritize Prolific Plants
Some plants will give you more harvests than others per plant. When making your planting plan, select mostly plants that will continue to offer a large bounty like kale and other leafy greens, herbs like basil and cilantro, and cucumbers and tomatoes. Consider avoiding plants that need large blocks of space, like corn, or ones that spread out significantly, like squash.
2. Get Vertical
In small spaces, there is often the option to grow up instead of out. Installing tall trellises, like the cedar one above, can offer a great option for crops that need support like tomatoes, cucumbers, and squash. We recommend trellises over cages for plants like tomatoes, as the plant can be shaped to take up less room overall than in a cage and is easier to maintain and prune.
3. Make a Plan & Plant Intensively
Making a planting plan is a great first step to planting. One of the biggest benefits to raised beds is that you can plant more intensively (aka closer together) than you can in in-ground garden beds. We typically use square foot gardening planting recommendations, plus some interplanting. This means planting a row of tomatoes and cucumbers, and then planting a smaller, fast growing crop like radishes between them. By the time the tomatoes and cucumbers are getting spreading out more, the radishes will be ready to harvest.
Remember: it’s easier to prune after you plant than re-plant later in the season. If you notice your plants are starting to look a little overcrowded, you can always prune back plants or pinch off seedlings to help the others thrive, so don’t be afraid to plant heavy and enjoy the bounty!

Gardening in the Heat
It must be July!
July in Central Ohio is typically considered the start of “peak harvest”- that time where everything in your garden is absolutely exploding, and you find yourself leaving grocery bags full of zucchini on your neighbor’s doorstep out of sheer desperation (sorry again, Carol, for the Great Zucchini Incident of 2018).
Leaves may look a little wilty. Some of your plants may be bolting (also known as “going to seed”- learn more here).

Heat waves don’t have to mean growing food grinds to a halt- here’s some of my top tips on gardening in hot weather:
1. Water Heavily in the Mornings:
Water heavily. If you’re worried about drowning the plant, let me assure you that, when the temps climb above 85 F, it’s pretty darn hard to damage them with water alone. Try to water in the mornings so that any wet foliage has the chance to dry during the daytime. Summer crops, like tomatoes and squash, are drama-queens about wet leaves, so water close to the roots if you can help it.
2. Transplant When it’s Overcast:
If you’re a little late to the game on planting, and just now getting those pepper, tomato, and cucumbers transplants in the ground, those babies are at higher risk of transplant shock because of these temps. Transplant on a day when the sun isn’t on full-blast and some clouds are covering the sky. While the plants may still suffer a bit from heat, cloud coverage will help prevent them from frying in the sun and reduce transplant shock.
Not sure what to plant, or when to plant it? Snag our super comprehensive, 15-page planting calendar here.
3. Water Seedlings Frequently:
If you insist on planting seeds, rather than transplants, check on them at least once a day. Like all living things, plants are most vulnerable during the first parts of their life, when they crack open their seed coats and their first little leaves poke through the soil. Established plants may be able to handle a bit of drought- teeny seedlings will fry and die in the sun if you don’t keep their soil moist.
4. Take Care of Yourself:
Heat stroke ain’t no joke (trust me, I know). Take frequent water breaks in the shade when gardening and try to garden earlier in the morning or later at night when it’ll be cooler. Bonus points if you go into full gardening-dork mode and get one of these neck things (not sponsored- I just love these).
5. Get Creative With Your Harvests:
Let’s face it, there’s only so much Zucchini bread you can take. Go beyond roasting and sautéing and dive out of your comfort zone with juicing, spiralizing, grilling, and frying. Who knows- you might just find out you love zucchini raw, like how I prepare it in my Raw Summer Harvest Salad.